In AAC it’s hard to put enough stress on the importance of having a back up system. Devices break, batteries run down, swimming pools, bad weather, unusual situations, it’s one of those things that really are vital.
(It’s also pretty handy when you are working with someone in their language – that way you can be a little more streamlined than ‘sharing’ the communication aid)
There are lots of different ways to make books, I’m going to take you through my way. I’m using CommuniKate 20 as the basic pageset, but the approach works generally. For CommuniKate 20 this took about 45 minutes. It’s nice relaxing work so it goes well with a cup of tea and a biscuit tin.
I’m also assuming that you have access to images of the pagesets themselves. With CommuniKate (because it’s free and open-licenced) we provide a nice easy PDF (warning 24mb download) for people to use.
Edit: For info I’ve recently pulled the images off Richard’s Proloque2go system and put them in a decent format for this. (I used the iPad’s screenshot function and just imported the images) – funnily enough it also took about 45 minutes and needed a cup of tea and a tin of biscuits) – Joe
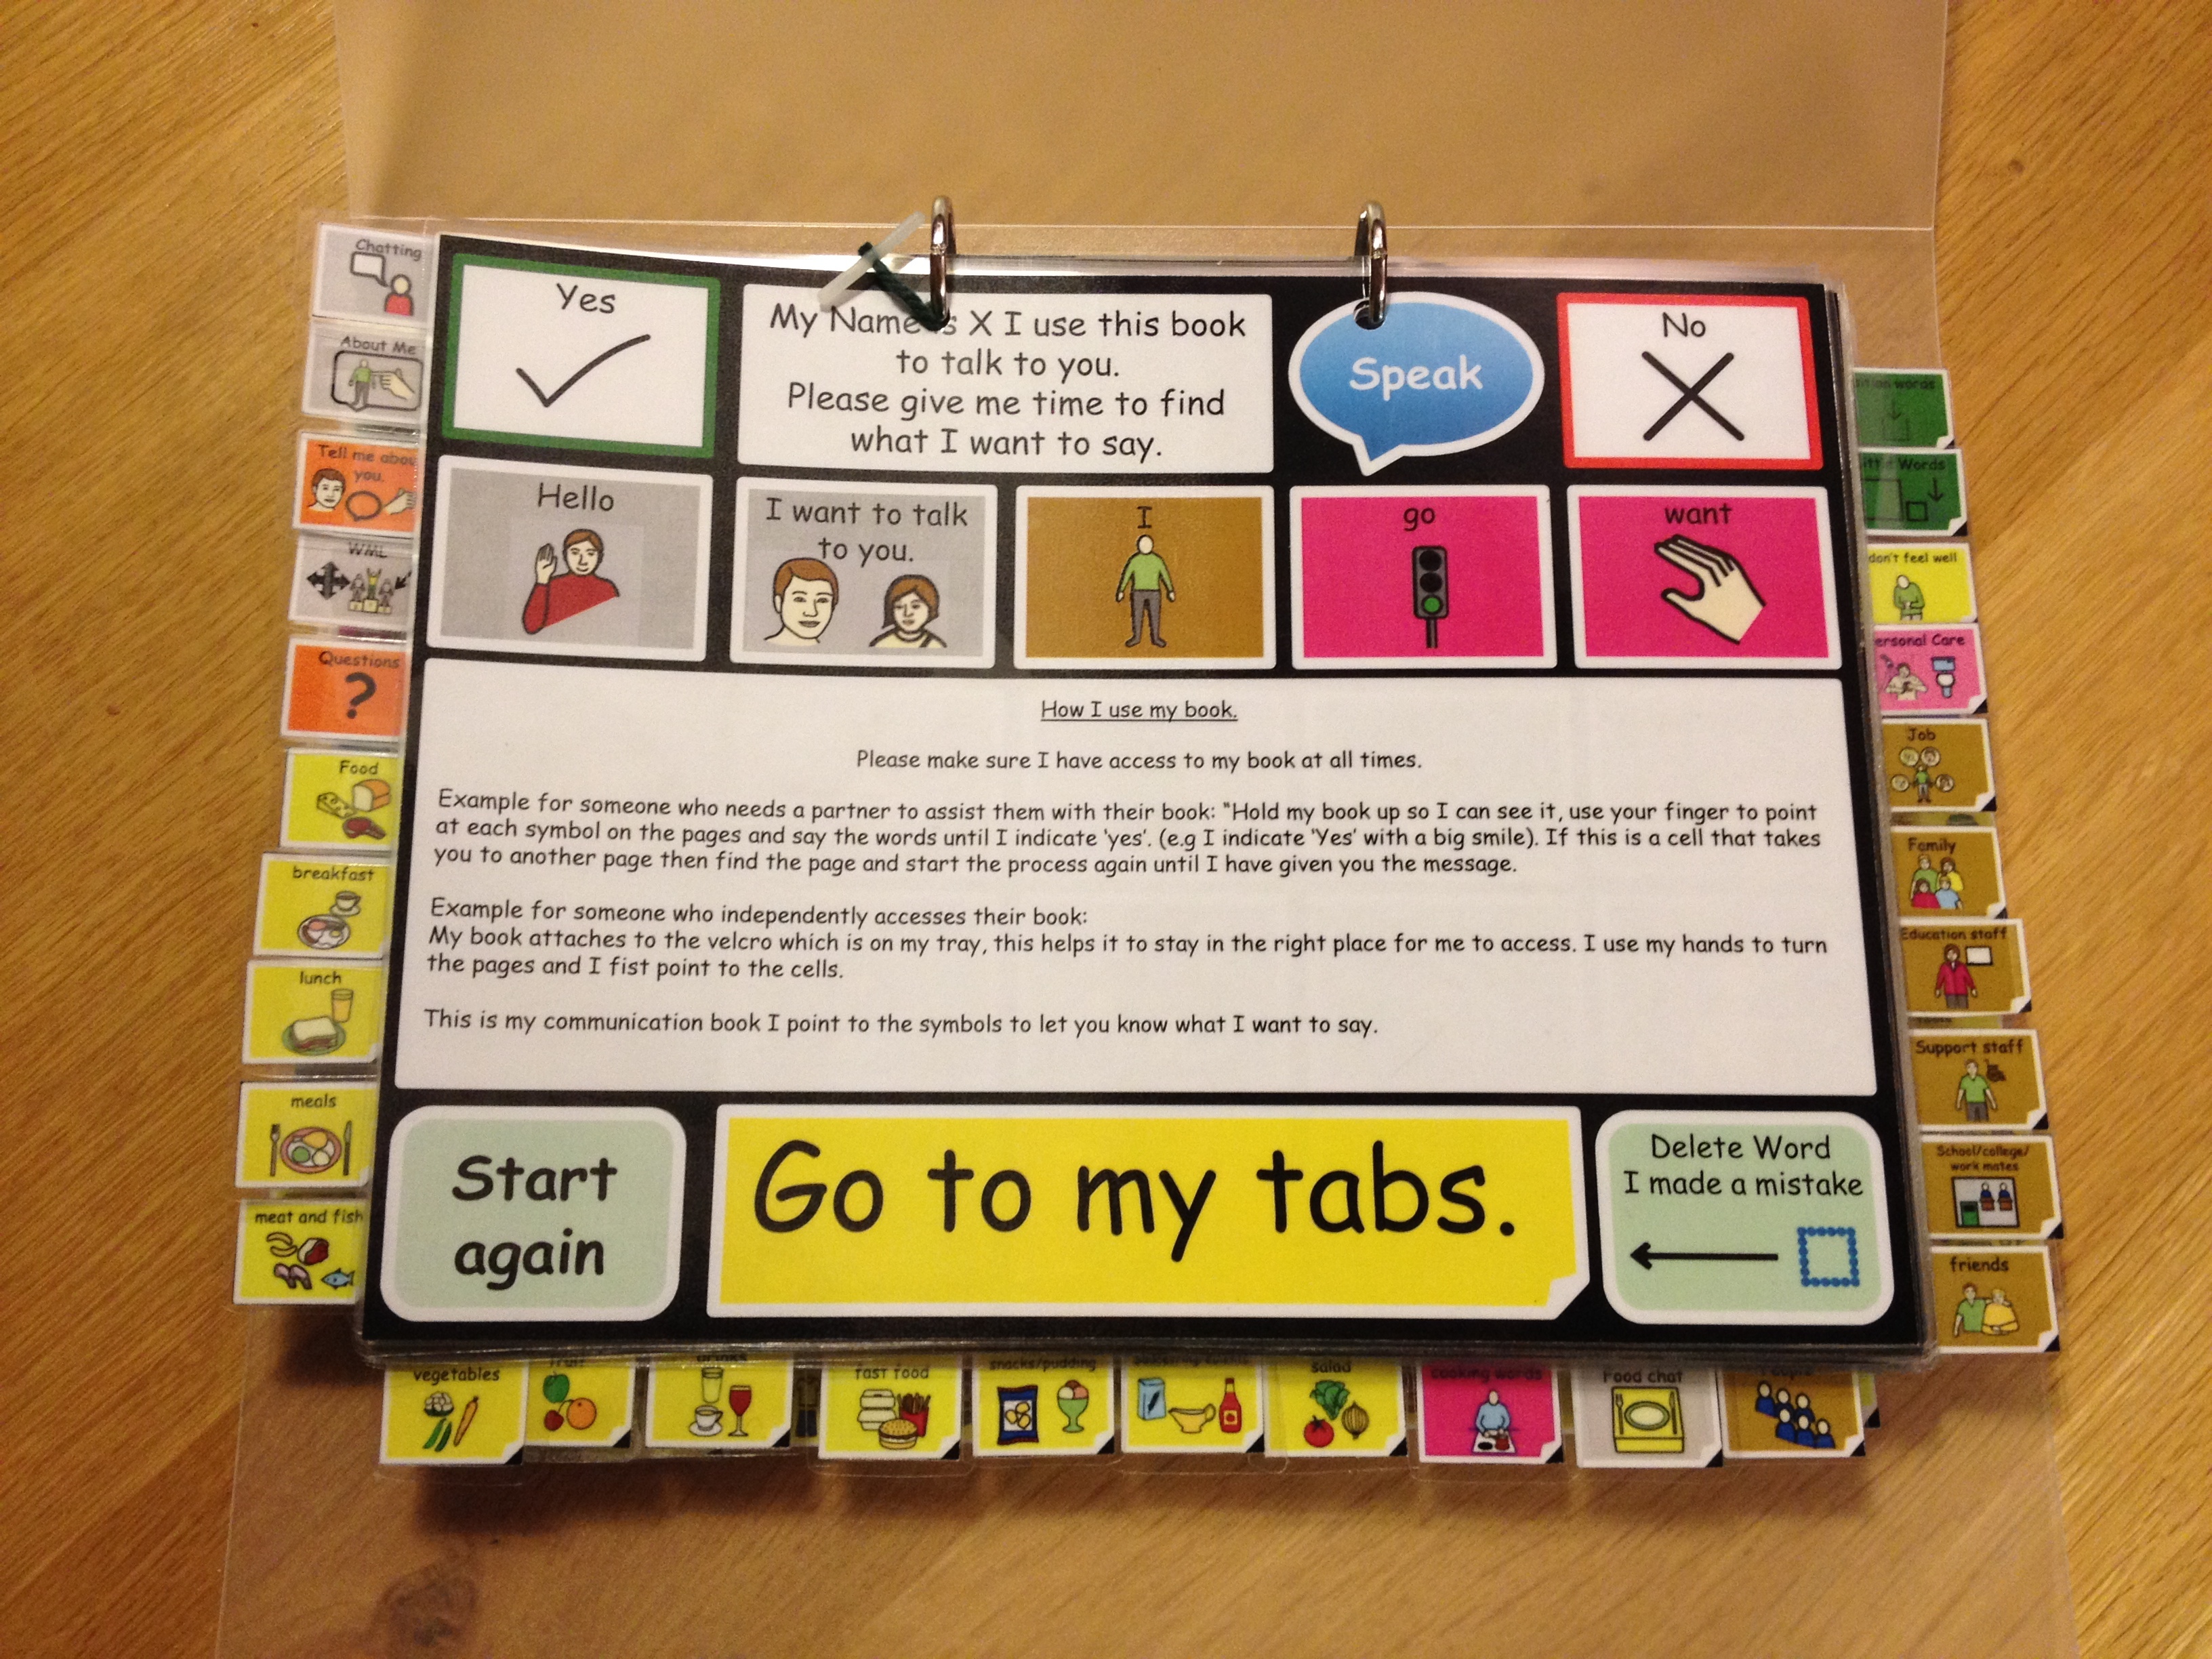
First thing we do is print out the ‘tab’ pages – these are the ones that will be forming your ‘index’. The top page will be a tab page certainly, and you’ll make a judgement about how many ‘tabs’ is best for your user. Once they are printed off you can cut them out like this:
 As you can see, we were happy with quite a lot of tabs…
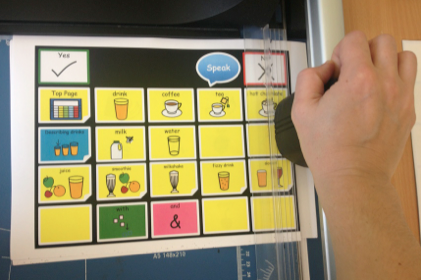
Whilst you are cutting out the tabs you can print off the main book. Be a little cautious about paper size. For an A4 book print off one slide per page. For an A5 book print off as two ‘pages’ per sheet.
Next cut the white boarder off the slides.
Tip: try to keep the pages in order and be as neat as you can when cutting it make the overall construction much easier.
Next stick the tabs to the relevant pages, keeping them in order until all the pages are done. Like this:


Tip: Use magic tape as it can’t be seen once you laminate the pages
All that’s left is to laminate the pages and cut them out…..
Tip: Work out the centre of the laminate and place the pages in the laminating pouch exactly in the centre. This way when you come to whole punch it and put it in a file all the pages will be in the centre and the tabs will be in the right place.
Hole punch the pages and place then in a file like this:

Tip: Use a treasury tag through all the page so that when the file gets old, dropped or the mechanism breaks or fails, all the pages don’t get separated and out of order.
Tip: Think about how the person accesses their book for example if they are a wheelchair user and they have a tray. You may wish to use Velcro or Dycem matting to stop the book slipping all over or getting dropped. Equally if they use a communication aid mount you may wish to consider using the mount to mount their book: both of these help to ensure the user has a voice all the time.
There you have it, a completed low tech-backup book.
EDIT:
To reduce the weight of your book, you can also use water and tear resistant media such as this:

…which is available from here. It’s also great for individuals who need a light press, because they can’t press through a laminated sheet, onto a device like an AMDi tech/speak. In my experience it does not last as long as laminating but if carrying a heavy book is a problem it maybe an option for some users to consider.